Part 1: Loading the data
Now that we are connected to the study servers, we have to load the data on the remote R sessions.
Loading the resources
We will begin by loading the resources. To do so, we have to know the path to them in the Opal servers, if we do not know it, there are two different ways of finding out.
Opal UI
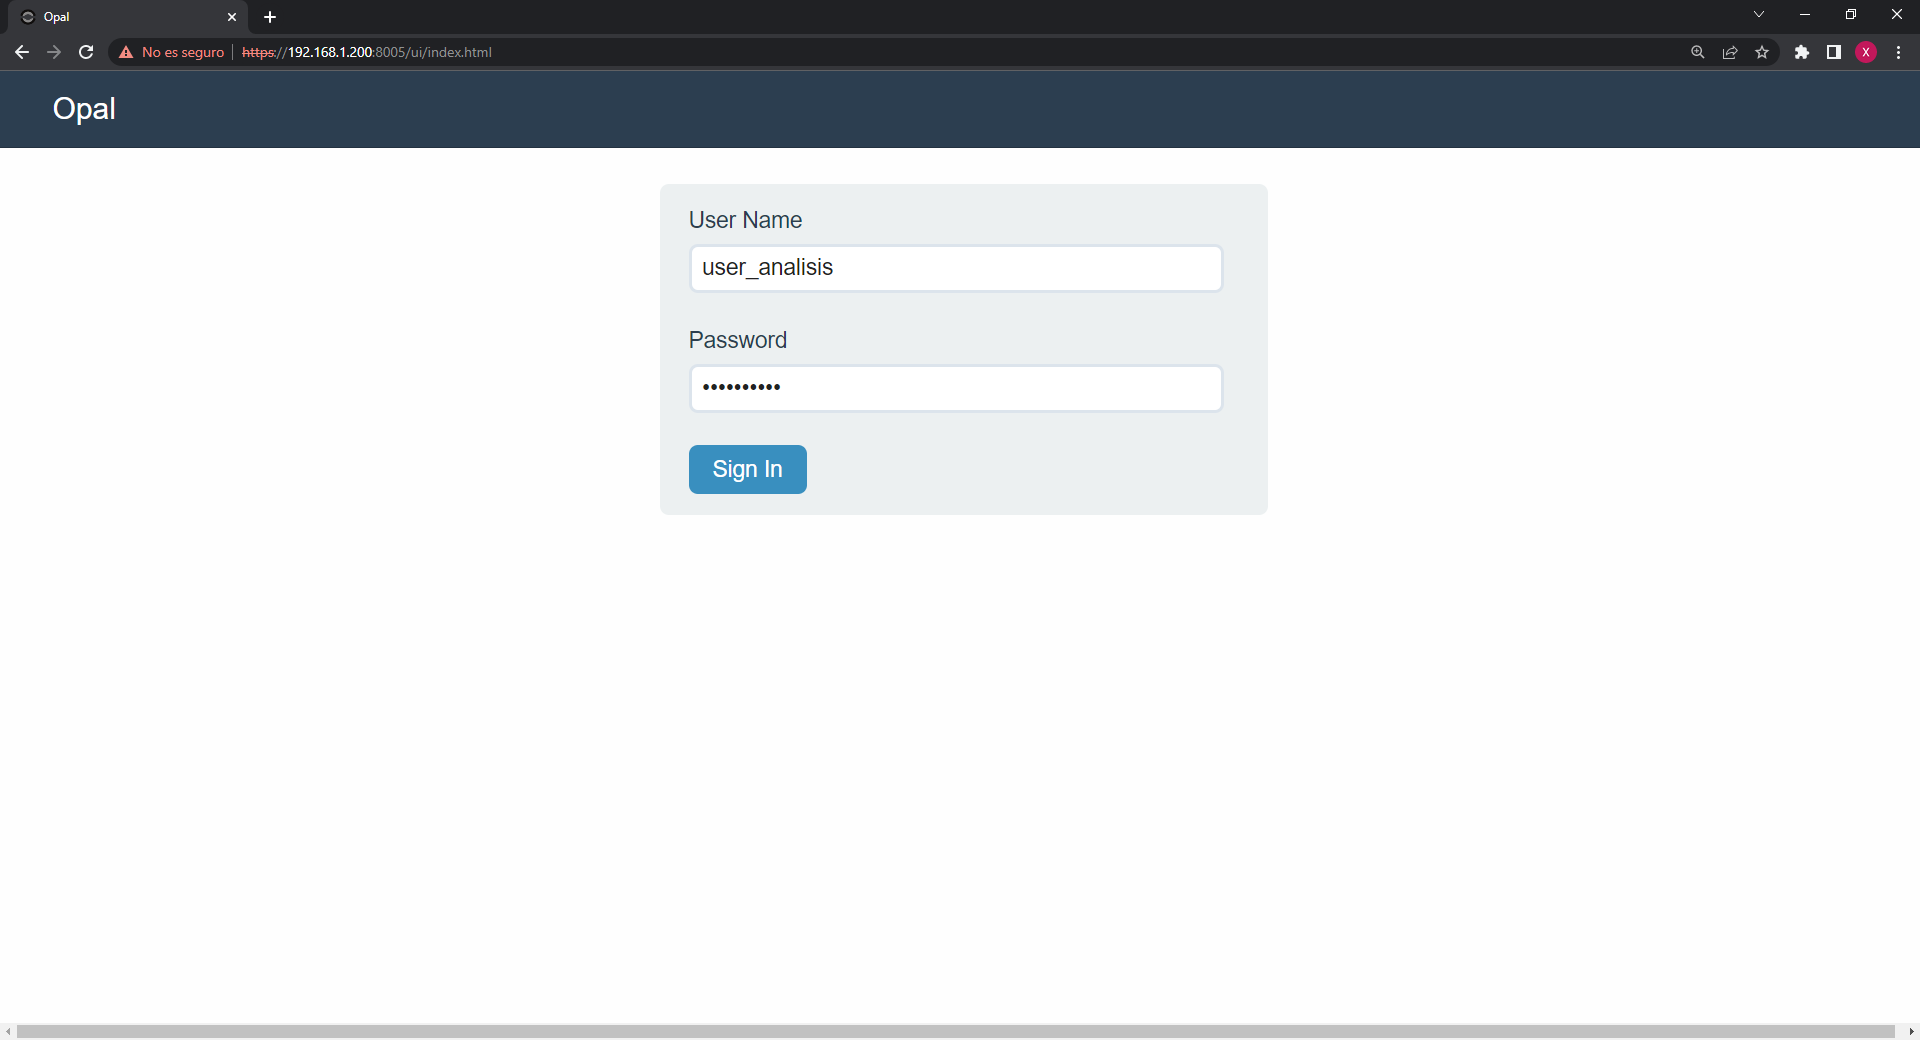
We can use the web user interface of Opal. To do that, just go to your browser of choice and navigate to the server URL. Login with the same credentials you are using for DataSHIELD.

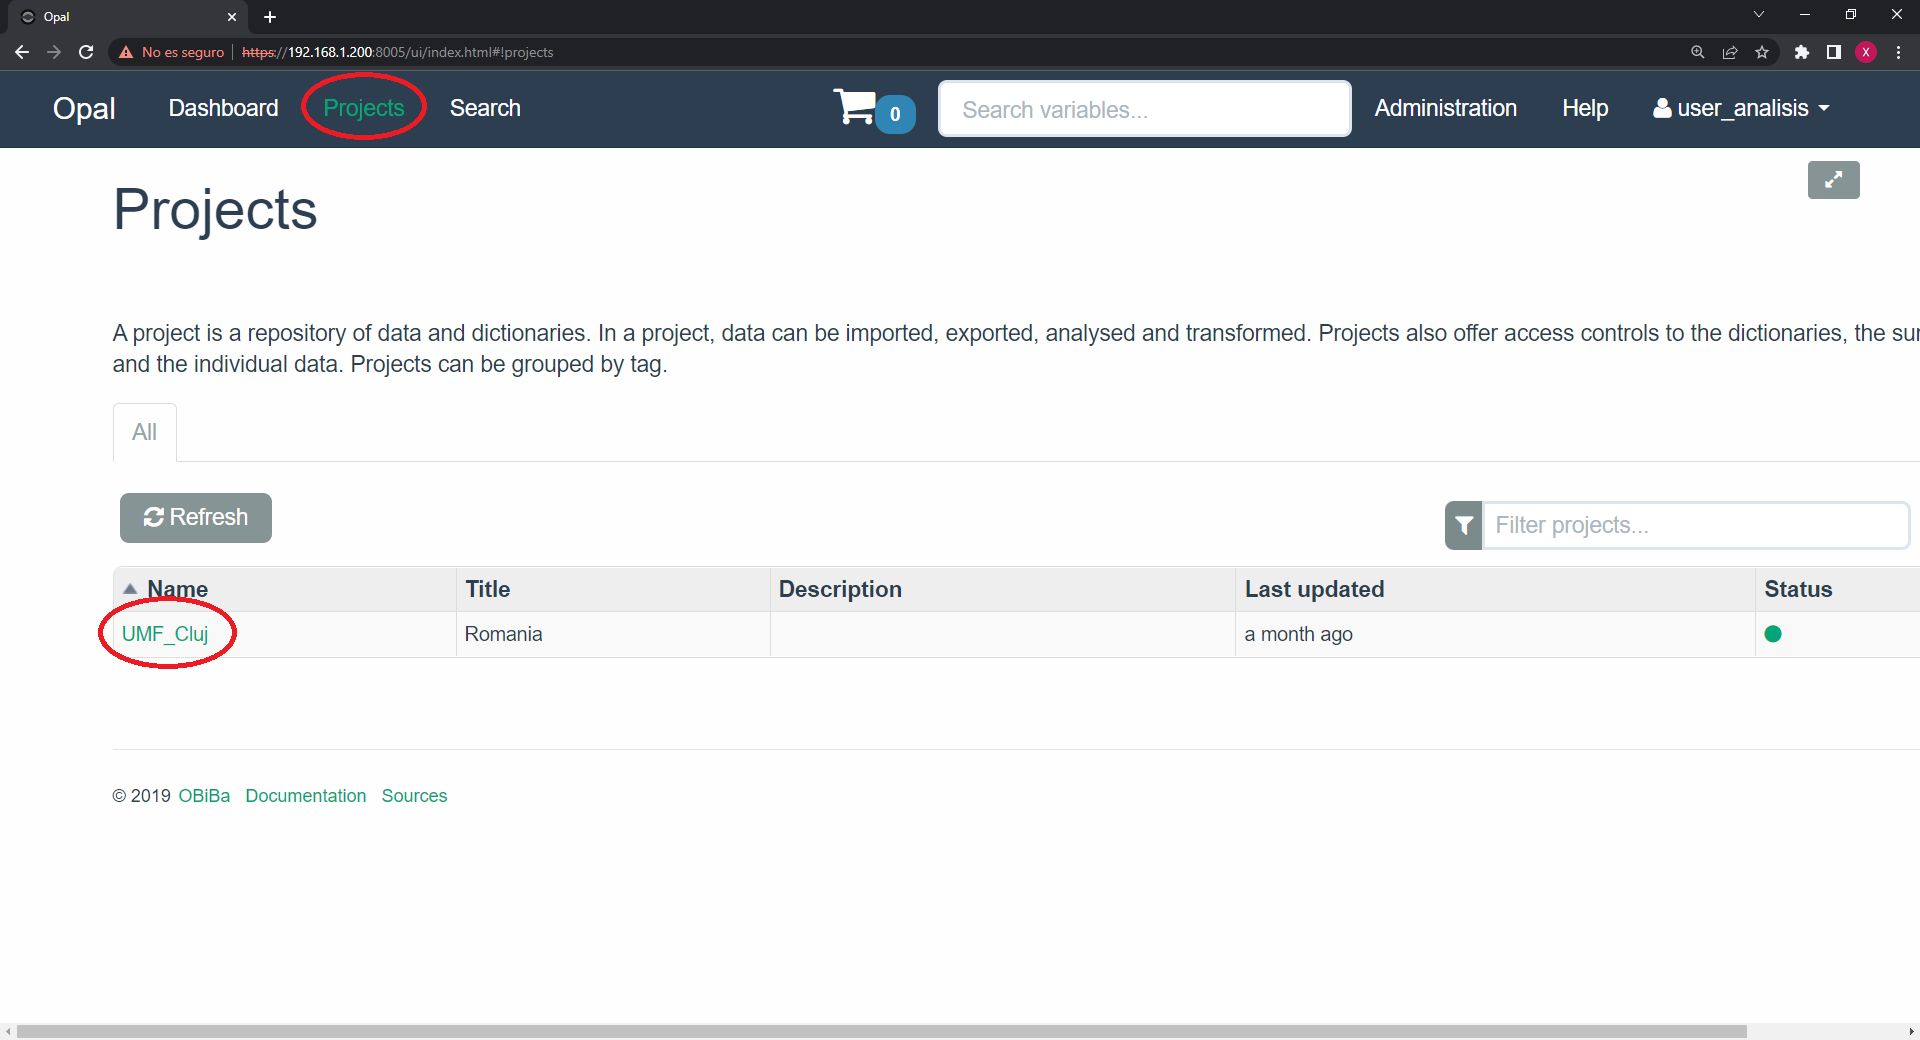
Once we login, we have to navigate to the Projects tab, there we will find the available projects on the Opal server, we have to write down the name of the project we are interested on using.

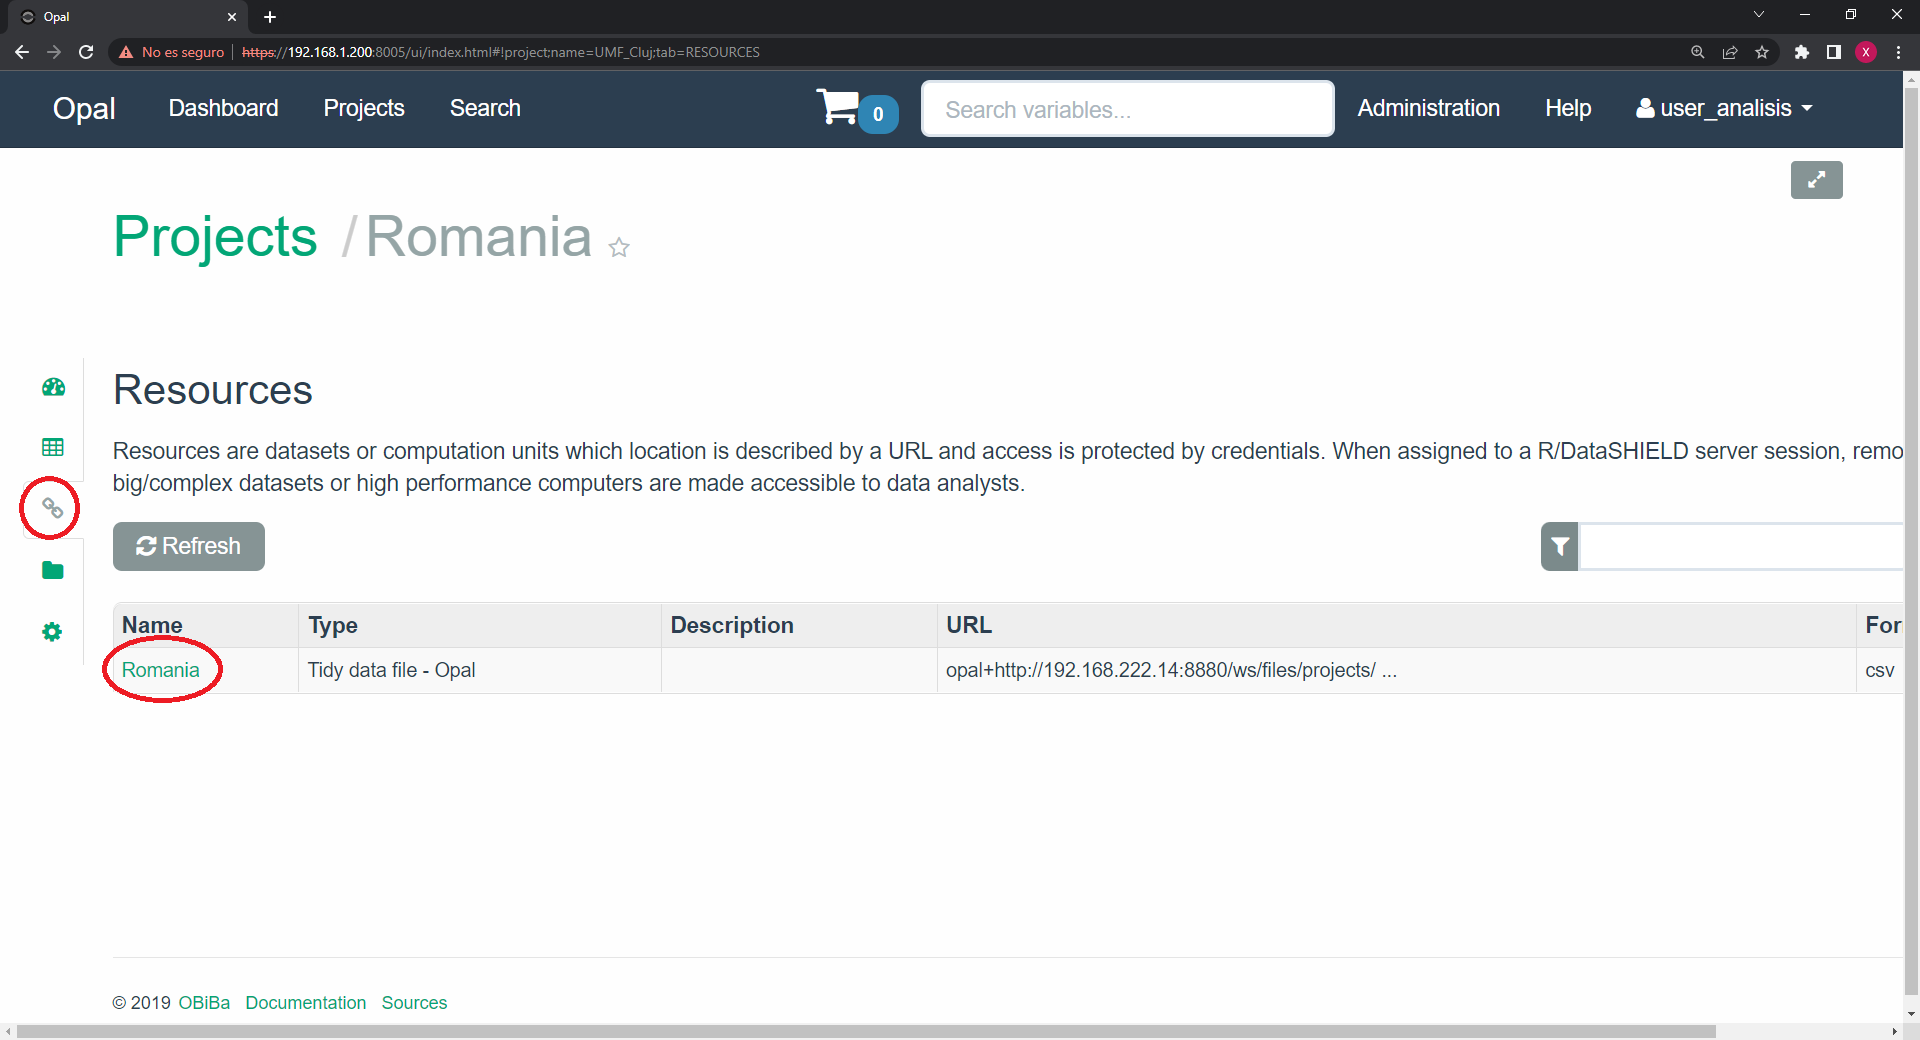
We then click on the project of interest. On the resources tab we will see the available resources. We have to write down the resource of interest.

Using R console
We can use the opalr package to interact with the Opal server and retrieve information about it. The information we are interested on is the available projects and the resources they contain.
First we login to one Opal, if we are using multiple servers, we have to perform the same procedure for each one; we will illustrate the HM Hospitals server only.
o <- opalr::opal.login(username = "user_analisis",
                  password = "*********",
                  url = "https://192.168.1.50:9002")
Then, we look for the available projects.
opalr::opal.projects(o) name title tags created lastUpdate
1 FiHM FiHM NA 2022-02-10T10:29:06.000Z 2022-02-10T10:29:06.000ZAnd finally, we look for the available resources inside this project.
opalr::opal.resources(o, "FiHM") name project
1 harmonized_data FiHM
url format
1 opal+http://opal:8080/ws/files/projects/FiHM/HM_Harmonized_Dates.csv csv
created updated
1 2022-04-25T09:51:27Z 2022-04-25T09:51:27Zopalr::opal.logout(o)Projects and resources names
If we perform the same operations for all three study centers we are using in this workshop, we can obtain the following information:
| Study center | URL | Project Name | Resource Name |
|---|---|---|---|
| HM Hospitales | https://192.168.1.50:9002 | FiHM | harmonized_data |
| Sacrocuore Verona | https://192.168.1.50:8890 | S_uncover | verona |
| UMF Cluj | https://192.168.1.200:8005 | vUMF_Cluj | Romania |
Loading the resources in the remote R sessions
Now we have to tell each study center to load the correspondent resource. What we have created on the previous part is a connection object that contains the connections to each study server. We can see how it looks.
connections$hm_hospitales
An object of class "OpalConnection"
Slot "name":
[1] "hm_hospitales"
Slot "opal":
url: https://192.168.1.50:9002
name: hm_hospitales
version: 4.0.3
username: user_analisis
profile:
$sc_verona
An object of class "OpalConnection"
Slot "name":
[1] "sc_verona"
Slot "opal":
url: https://192.168.1.50:8890
name: sc_verona
version: 4.2.8
username: user_analisis
profile:
$umf_cluj
An object of class "OpalConnection"
Slot "name":
[1] "umf_cluj"
Slot "opal":
url: https://192.168.1.200:8005
name: umf_cluj
version: 4.0.3
username: user_analisis
profile: It is basically a typical R list, therefore we can interact with a single server (for example the Verona one) by using connections[2]. We will do that to send the appropiate information to each study server. The syntaxis to specifiy the path of the resource follows the structure project.resource_name.
DSI::datashield.assign.resource(connections$hm_hospitales, "resource", "FiHM.harmonized_data")
DSI::datashield.assign.resource(connections$sc_verona, "resource", "S_uncover.verona")
DSI::datashield.assign.resource(connections$umf_cluj, "resource", "UMF_Cluj.Romania")
Now, each study server has an object called resource with the correspondent information. So in the following function calls we don’t have to send different information to each server.
Resolving the resources
The next step is to use the information of the resource object and load the dataset that it points to. In order do so, we just have to “resolve” this object. We do that with the following function.
DSI::datashield.assign.expr(conns = connections, symbol = "data",
                            expr = "as.resource.data.frame(resource)")
We have created an object called data. This object contains a dataframe with the data we will use to perform our analysis. We can check if that is true and the dimensions of this dataframe.
ds.class("data")$hm_hospitales
[1] "spec_tbl_df" "tbl_df" "tbl" "data.frame"
$sc_verona
[1] "spec_tbl_df" "tbl_df" "tbl" "data.frame"
$umf_cluj
[1] "spec_tbl_df" "tbl_df" "tbl" "data.frame" ds.dim("data")$`dimensions of data in hm_hospitales`
[1] 6864 219
$`dimensions of data in sc_verona`
[1] 1515 45
$`dimensions of data in umf_cluj`
[1] 999 132
$`dimensions of data in combined studies`
[1] 9378 219